 Pin this
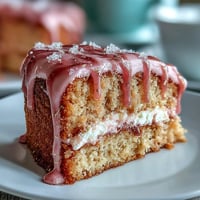
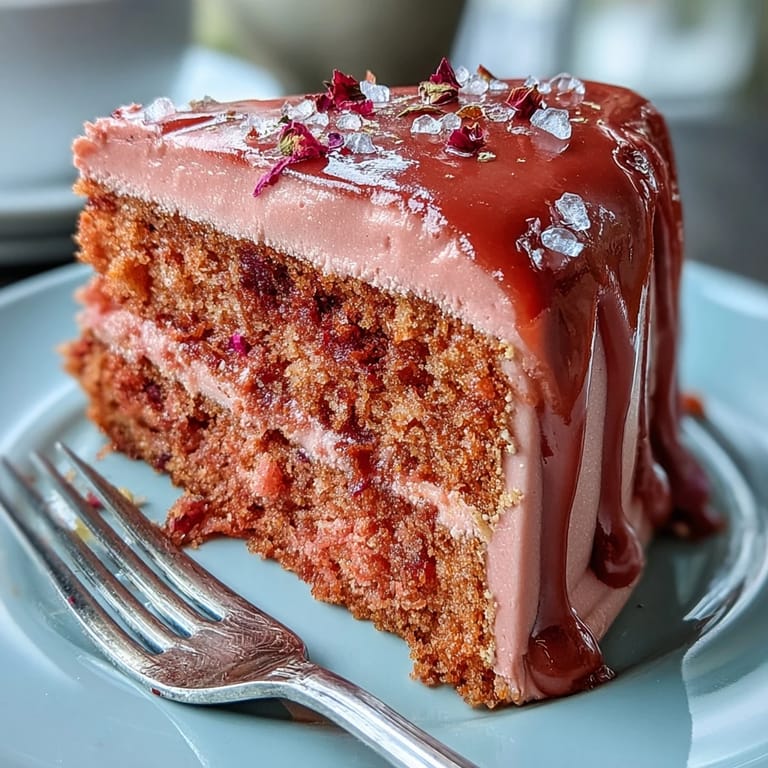
 There was a late spring afternoon when my kitchen was flooded with pale pink sunlight, and that delicate hue inspired this Rosé Velvet Cake. Smells of vanilla and sweet wine mingled with the hum of my mixer, and for a few lovely hours, the chaos of a coming bridal shower faded into a swirl of fluffy frosting and shimmering gold. It started as a whim—how could I make something that felt celebratory and just a little bit magical? Spoiler: the answer involves edible gold. The first bite had my friends grinning, crumbs clinging to their lips, as the laughter tumbled over the clink of wine glasses.
The morning before my cousin's bridal shower, I nearly panicked when the gold drip streaked down the sides imperfectly—only to have her walk in, gasp, and say it was the most beautiful cake she'd ever seen. There's a comfort in the way baking mistakes sometimes become design. We laughed about it over mimosas and strawberries as I pressed edible flowers into the final frosted swirl. That memory still glimmers for me every time I open a bottle of rosé for baking. This is a cake for sharing, imperfections and all.
Ingredients
- All-purpose flour: Gives the cake a soft but sturdy texture; I now always sift it first for a fine crumb.
- Granulated sugar: Sweetens and helps the cake lightly caramelize around the edges.
- Baking soda: Adds the lift, so your layers are plush and never stodgy.
- Fine salt: Rounds out the sweetness; don't skip it, even in desserts.
- Unsweetened cocoa powder: Just a touch brings depth to the pink hue and flavor.
- Vegetable oil: Makes the crumb moist for days; much fussier cakes I've made with butter ended up drier.
- Eggs (room temp): Bind everything together—remember to gently crack them into a small bowl, just in case.
- Buttermilk (room temp): Makes for the tenderest cake; I let mine sit out while prepping the pans.
- Rosé wine: Choose a not-too-sweet, dry or sparkling rosé; it shines right through.
- Vanilla extract: With floral notes, it balances the wine and rounds out the flavors.
- White vinegar: Reacts with the baking soda for extra lift, and helps brighten the pink color.
- Pink or rose gel food coloring: Just enough for a gentle blush or go bold; start with a toothpick's worth.
- Unsalted butter (room temp): For buttercream that whips up fluffy and pale—warm to the touch, never melted.
- Powdered sugar (sifted): Ensures silky-smooth, lump-free frosting.
- Heavy cream: Melts with the chocolate for a velvety gold drip.
- White chocolate chips: Melt quickly and serve as the base for your gold effect.
- Edible gold luster dust: This is all about drama and dazzle—make sure it says edible.
- Vodka or clear lemon extract: Helps the gold luster dust become paint; alcoholic evaporates for a quick, shiny finish.
- Salt (for buttercream): Just a pinch keeps the sweetness from becoming cloying.
Tired of Takeout? 🥡
Get 10 meals you can make faster than delivery arrives. Seriously.
One email. No spam. Unsubscribe anytime.
Instructions
- Prep the pans and oven:
- Set your oven to 350°F (175°C) and line three 8-inch cake pans with parchment; grease well so nothing sticks when you flip them.
- Dry basics:
- In a big bowl, whisk together flour, sugar, baking soda, salt, and cocoa until not a clump remains.
- Mix the wet:
- In a separate bowl, combine oil, eggs, buttermilk, rosé, vanilla, and vinegar, whisking until creamy and smooth with a faint pink cast.
- Combine and color:
- Pour wet into dry, mixing gently just until incorporated; swirl in food coloring until you reach your perfect blush shade.
- Bake the layers:
- Divide batter evenly among pans and bake for 30-35 minutes, or until a toothpick comes out clean and the tops spring back.
- Cool completely:
- Let cakes cool 10 minutes in pans, then invert onto racks to finish cooling; a totally cool cake is key for decorating.
- Rosé buttercream:
- Beat butter until cloud-light, then gradually add sifted powdered sugar, scraping the bowl as you go.
- Add flavor and adjust:
- Pour in rosé, vanilla, and salt, letting the mixer run for 2-3 minutes until the frosting is smooth, spreadable and tastes balanced; add more rosé if too thick.
- Assemble the cake:
- Level cakes if necessary, stack with buttercream between layers, then coat the whole cake in a thin crumb layer; chill, then finish with a final swirl and smooth layer of pink buttercream.
- Gold drip magic:
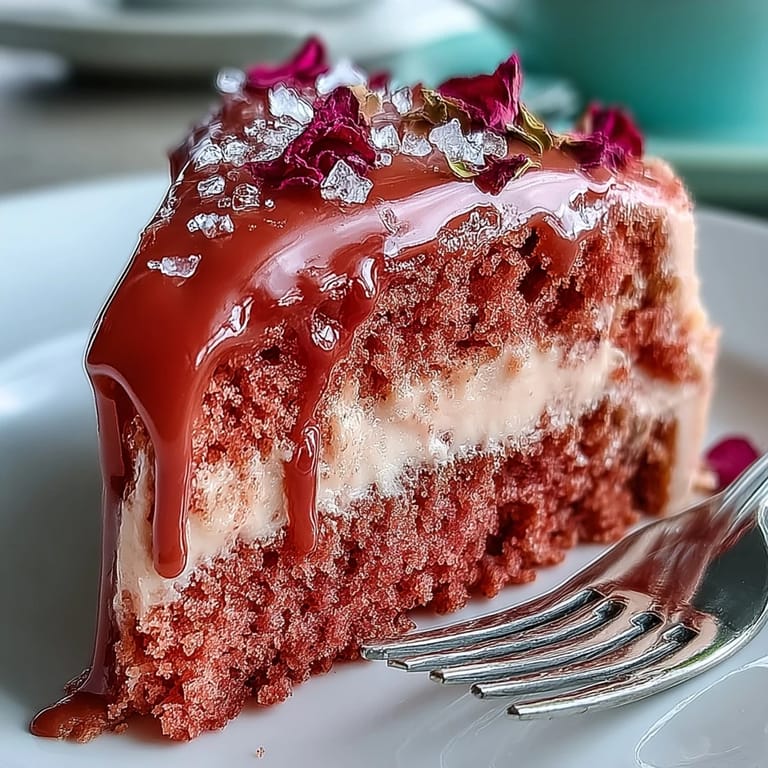
- Melt white chocolate and cream together, cool slightly, then pour gently over the top so it cascades over the edges; once set, brush on gold luster for a regal effect.
- Extra sparkle:
- Add gold accents, rose petals, or berries for flair; let imagination (or whatever's in your pantry) guide you.
 Pin this
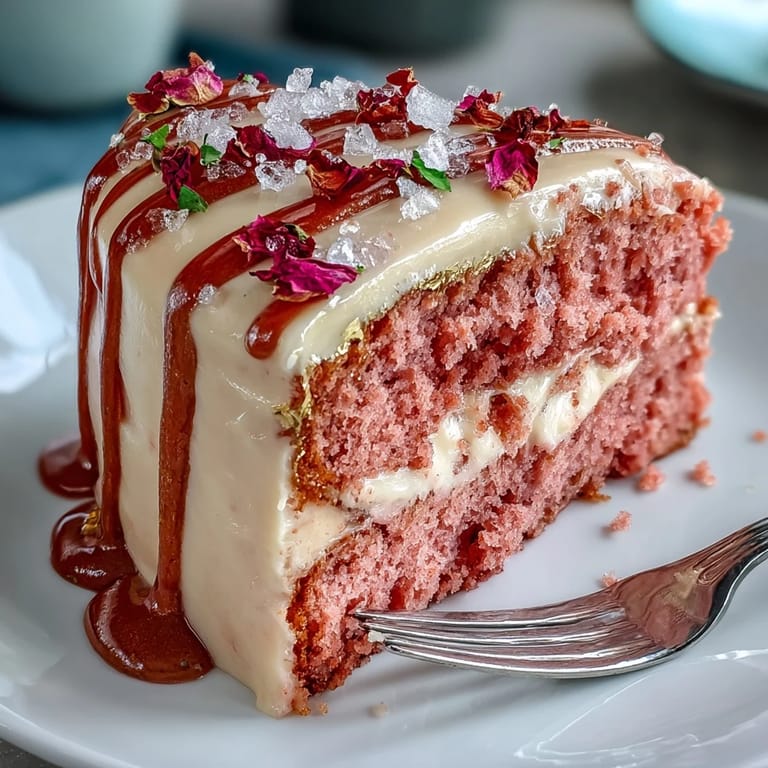
 During the toast, when someone tapped a fork on their glass and the cake glinted under hanging lights, I realized this wasn't just dessert—it was a centerpiece that gathered all our excited chatter into a single sweet moment. Sometimes cake is more than a treat; it's the memory everyone asks about for years after.
Rosé Buttercream Troubleshooting (And Triumphs)
There was one batch where my frosting separated, and I almost gave up—brought it back together with a splash of cold rosé and a minute of extra whipping. The trick is to go slow with the liquid, pausing to scrape the bowl, and trust the mixer even when it looks wobbly. If your kitchen runs warm, pop your bowl in the fridge between steps. Don't be afraid to taste as you go and tweak with a touch more wine or sugar. It's all about finding that balance between creamy and bright.
Getting That Gold Drip to Shine
I once accidentally used non-edible gold, and spent the afternoon scraping drips off a cake—definitely double-check your luster dust label! Use a light hand painting the drip so the white chocolate underneath isn't streaked. It helps to chill the cake before you start painting for crisp lines. Vodka works better than extract since it evaporates quickly, leaving a vivid metallic gleam. That reveal moment is always worth the extra step.
Decorating for Drama and Delight
Every time I decorate this cake, I try something a little different—a ring of fresh raspberries, sugared rose petals, gilded sprinkles. Don't be shy about piling on a few edible flowers or playful twists if you're feeling festive. Always have an offset spatula nearby for last-minute fixes. If you make it a day ahead, let it sit out for half an hour before slicing so the flavors bloom. And most of all, remember: perfectly imperfect drips are half the fun of this celebratory dessert.
- If making ahead, assemble and decorate, then refrigerate overnight.
- Use parchment rounds for a smooth release every time.
- Resist the urge to cut before it's fully set—the gold should glimmer, not smudge!
 Pin this
 Creating this rosé velvet cake always transforms my kitchen into a tiny, festive studio. Serve it with laughter and flutes of bubbly—it's made for moments you want everyone to remember.
Recipe Questions
- → What type of rosé works best?
Use a dry or lightly sparkling rosé for a subtle floral and fruity note. Avoid very sweet bottles, which can make the buttercream too sweet; taste first and adjust wine amount for balance.
- → How do I prevent soggy cake layers when using wine?
Fold wine into the wet ingredients rather than brushing it directly onto baked layers. Ensure layers are completely cooled before assembling, and use a thin crumb coat to lock in moisture before the final frosting.
- → How do I get a smooth, stable rosé buttercream?
Beat butter until light and airy before adding sifted powdered sugar gradually. Add rosé in small increments to reach the desired flavor and consistency; chill briefly if the buttercream becomes too soft.
- → Is edible gold luster dust safe to use?
Only use luster dust labeled as edible for direct contact. Mix dust with a small amount of food-safe clear alcohol or lemon extract to make a paint, and test on a small area before decorating the whole cake.
- → Can I make the cake ahead of time?
Yes. Bake and cool layers fully, then wrap and refrigerate or freeze. Assemble and frost up to a day ahead, keeping the finished cake chilled. Bring to room temperature before serving for best texture.
- → How do I achieve an even gold drip?
Cool the white chocolate drip until slightly thickened so it holds before pouring. Pipe small amounts around the edge to control drips, then fill the center and smooth. Paint on gold after the drip sets for a polished finish.