 Pin this
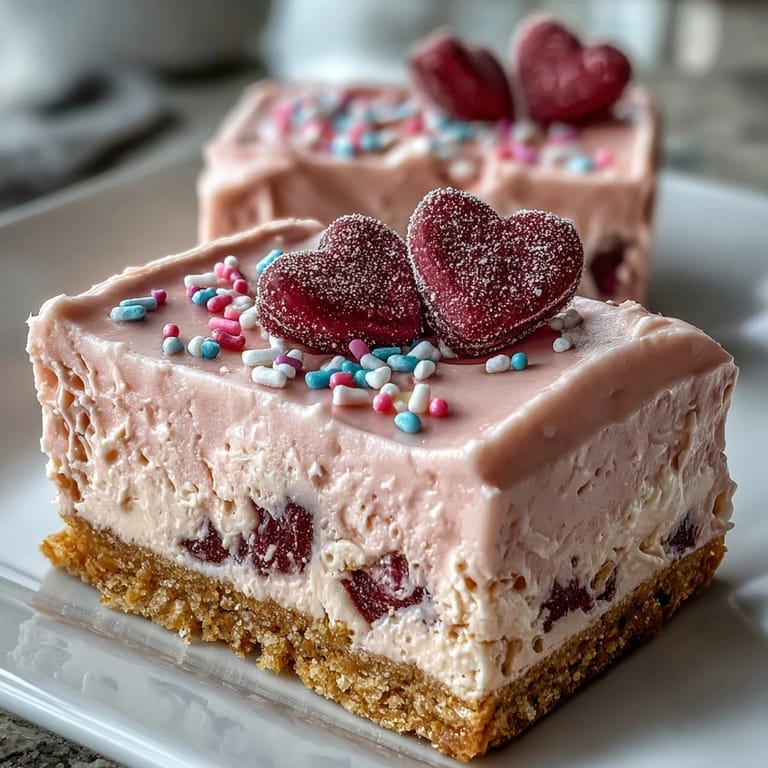
 I was hunting for something whimsical to bring to a Galentines brunch when I stumbled on a jar of conversation hearts tucked in the back of my pantry. The candy was leftover from February last year, still crunchy, still pastel perfect. I wondered if I could turn them into something more than a bowl filler, and this no bake fake cake was born. It took one failed attempt (too much food coloring turned the frosting neon), but by the second round I had a dessert that tasted like nostalgia dipped in cream. Everyone wanted the recipe before they even finished their slice.
The first time I served this was at a potluck where three people brought brownies. My fake cake sat on the table like a pastel cloud, and within twenty minutes it was gone. One friend admitted she hated conversation hearts but loved them pressed into cream cheese frosting. Another told me she took a photo before cutting her slice because it was too pretty to eat. I realized then that some desserts dont just taste good, they spark joy the second they appear.
Ingredients
- Graham cracker crumbs: The sweet, buttery base holds everything together and I learned that pulsing whole crackers in a food processor gives you the freshest crumbs.
- Unsalted butter, melted: Binds the crust without making it greasy, and I always let it cool slightly so it doesnt melt the sugar.
- Granulated sugar: Just enough to sweeten the crust without competing with the filling.
- Cream cheese, softened: Room temperature is non negotiable or youll end up with lumps no amount of beating will fix.
- Powdered sugar, sifted: Dissolves instantly into the cream cheese and keeps the filling silky smooth.
- Pure vanilla extract: A teaspoon is all you need to give the filling that classic cheesecake warmth.
- Heavy whipping cream, cold: Whips up into stiff peaks that make the filling light and airy, almost mousse like.
- Pink gel food coloring: Optional, but a few drops turn plain whipped frosting into something Instagram worthy.
- Conversation heart candies: The star decoration, crunchy and sweet, and they stay firm if you press them on gently.
- Rainbow sprinkles: A playful finishing touch that adds color and a little extra crunch.
Tired of Takeout? 🥡
Get 10 meals you can make faster than delivery arrives. Seriously.
One email. No spam. Unsubscribe anytime.
Instructions
- Build the crust:
- Stir graham crumbs, melted butter, and sugar until the mixture looks like damp sand and holds its shape when you squeeze it. Press it firmly into your lined springform pan, smoothing it with the bottom of a glass or measuring cup, then chill for 15 minutes so it sets up nice and firm.
- Whip the cream cheese base:
- Beat the softened cream cheese until its completely smooth, then mix in powdered sugar and vanilla until the whole thing turns fluffy and cloud like. This is your foundation, so take your time and scrape down the bowl.
- Fold in whipped cream:
- In a separate chilled bowl, whip 1 cup of cold heavy cream to stiff peaks, then gently fold it into the cream cheese mixture using a rubber spatula. Work slowly so you dont deflate all that airy volume you just created.
- Chill the filling:
- Spread the light, mousse like filling over your chilled crust, smoothing the top with an offset spatula. Cover the pan and refrigerate for at least 4 hours, or overnight if you want it extra firm and sliceable.
- Whip the frosting:
- Beat the remaining cup of cold heavy cream with powdered sugar and vanilla until stiff peaks form, then tint it pale pink with a drop or two of gel food coloring. Be patient, gel color is strong and a little goes a long way.
- Frost and decorate:
- Release the chilled cake from the springform pan and transfer it to a serving plate, then spread the pink whipped frosting evenly over the top and sides. Press conversation hearts gently into the frosting around the sides, then scatter more hearts and sprinkles on top for a playful, pastel finish.
- Final chill and serve:
- Refrigerate the decorated cake for 30 minutes so the frosting sets and the candies stay put. Slice with a sharp knife wiped clean between cuts, and serve chilled for the best texture.
 Pin this
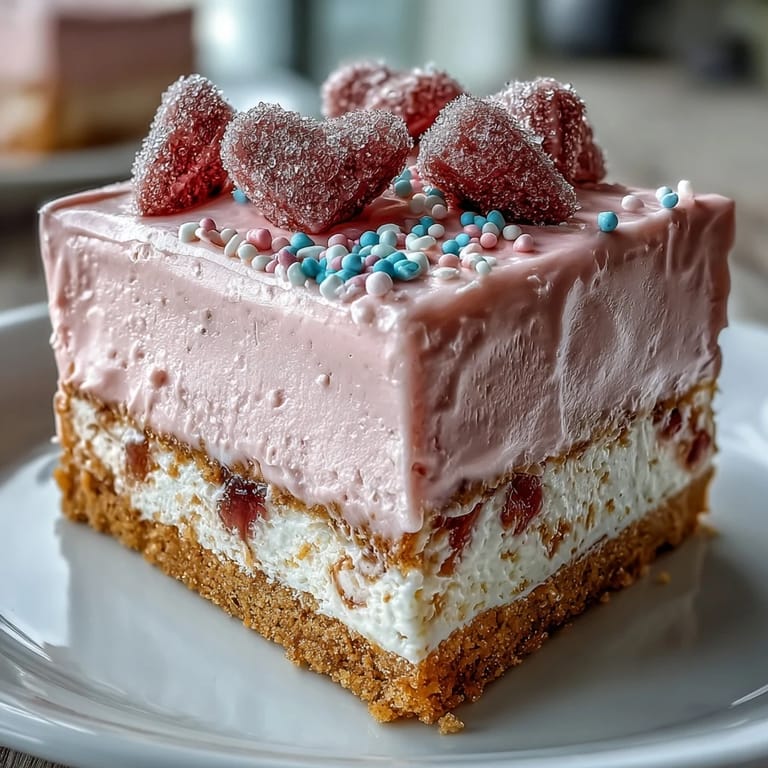
 One evening I made this for a small birthday gathering, and the birthday girl admitted she wasnt a huge cake person. But she took a second slice of this fake cake, laughing that it was more like eating a cloud than a dessert. Her mom asked if I could make it again for the family reunion. That night I realized this recipe wasnt just about the flavors, it was about creating something light, joyful, and a little unexpected that people remember long after the candles are blown out.
How to Get the Smoothest Filling
The secret is in the temperature and the order. Let your cream cheese sit out until its genuinely soft, not just cool to the touch. Beat it alone first until its completely lump free, then add the sugar and vanilla. Only after that base is silky do you fold in the whipped cream. If you try to fix lumps after adding the cream, youll deflate all that airiness. I learned this the hard way when my first attempt looked curdled and flat. Now I set a timer and let the cream cheese warm up properly, and the filling comes out perfect every single time.
Decorating Without the Mess
Pressing candies into soft frosting can turn into a sticky disaster if youre not careful. I found that chilling the frosted cake for just 10 minutes before decorating gives the frosting enough structure to hold the hearts without collapsing. Use clean, dry hands and press each candy gently at the base, not the center. If a candy cracks the frosting, smooth it over with a little extra whipped cream on your finger. The sprinkles go on last, scattered lightly so they stick without weighing down the design. This method keeps your cake looking polished and your hands mostly clean.
Make Ahead and Storage Tips
This fake cake actually improves when made a day ahead because the flavors meld and the filling firms up beautifully. I assemble it completely, cover it loosely with plastic wrap (so the wrap doesnt touch the frosting), and refrigerate overnight. The candies stay crunchy for about 24 hours in the fridge, but if you leave the decorated cake out at room temperature for more than an hour, the hearts start to soften and the colors can bleed slightly. Leftovers keep covered in the fridge for up to three days, though the candies lose some of their snap. If you want to freeze it, do so before decorating, then add the frosting and hearts after it thaws.
- Wrap the undecorated cake tightly and freeze for up to one month.
- Thaw overnight in the fridge before frosting and decorating.
- Serve within two hours of decorating if the room is warm to keep the candies crisp.
 Pin this
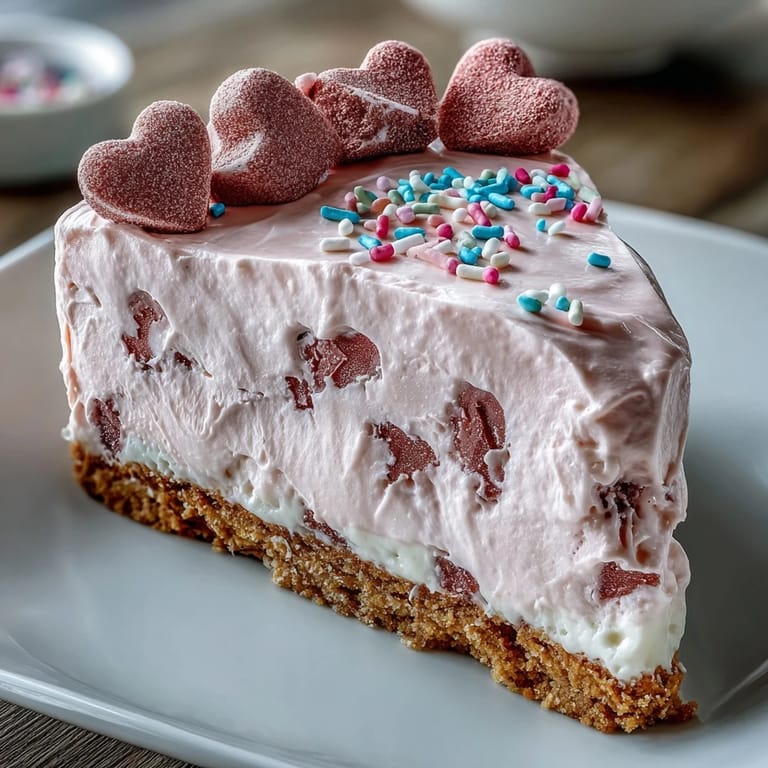
 This fake cake has become my go to whenever I want to bring something that feels special without spending hours in the kitchen. It always gets compliments, always disappears fast, and always leaves people asking how something so simple can taste so good.
Recipe Questions
- → Can I make this dessert ahead of time?
Yes, you can prepare the cake up to 2 days in advance. Keep it refrigerated and add the candy heart decorations shortly before serving to prevent them from softening.
- → What can I use instead of graham crackers for the crust?
You can substitute vanilla wafers, digestive biscuits, or Oreo cookies for a different flavor profile. Adjust sugar accordingly if using sweeter cookies.
- → How do I prevent the cream cheese filling from being lumpy?
Ensure your cream cheese is fully softened to room temperature before mixing. Beat it thoroughly until completely smooth before adding other ingredients.
- → Can I freeze this cake for longer storage?
Yes, you can freeze the cake without decorations for up to 1 month. Thaw in the refrigerator overnight and add frosting and candies before serving.
- → Why are my conversation hearts not sticking to the frosting?
Make sure the frosting is freshly whipped and slightly soft. Press candies gently but firmly into the frosting while it's still tacky for best adhesion.
- → Can I make this without food coloring?
Absolutely. The frosting works beautifully in its natural white color, or you can use a small amount of strawberry puree for a natural pink tint.