 Pin this
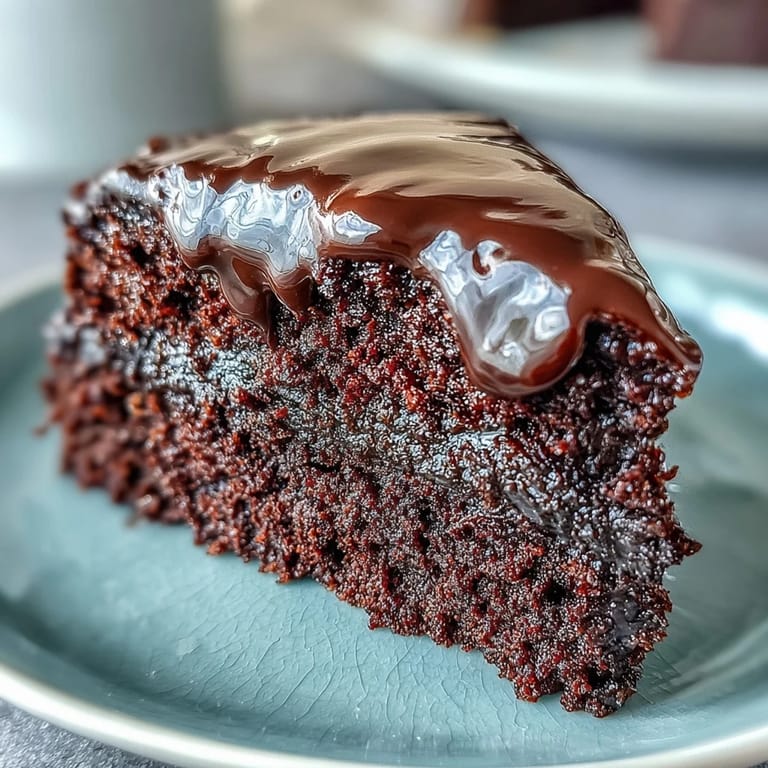
 My sister called me on a rainy Tuesday asking if I could bake something rich for her book club that evening. I had exactly one hour before I needed to leave the house. This chocolate fudge cake became my answer to that panic, and it's been my go-to ever since. The batter comes together so quickly that I've made it more times than I can count, each one just as squidgy and intense as the first.
I once brought this to a potluck where someone had ordered an expensive cake from a fancy shop. Mine was gone within minutes, and the other sat half-eaten. A friend pulled me aside and asked for the recipe, admitting she'd had three slices. That moment taught me that homemade doesn't need to be complicated to be unforgettable.
Ingredients
- Unsalted butter (200 g, plus extra for greasing): Using unsalted lets you control the sweetness and saltiness perfectly, and always grease your tins generously to avoid heartbreak when turning out the cakes.
- Dark chocolate (200 g, minimum 50% cocoa solids), chopped: The cocoa percentage matters here because it gives the cake its deep, grown-up flavor without tipping into bitter territory.
- Light brown sugar (250 g): This adds a subtle caramel note that white sugar just can't replicate, and it keeps the crumb soft and tender.
- Large eggs (3): Room temperature eggs whisk up lighter and blend more smoothly into the batter, so take them out of the fridge early.
- Plain flour (200 g): All-purpose flour keeps the texture light and sturdy enough to hold all that chocolate without collapsing.
- Baking powder (1 ½ tsp): Fresh baking powder is crucial because old tins lose their lift, and you'll end up with a dense, flat cake.
- Fine sea salt (¼ tsp): Just a pinch sharpens all the other flavors and stops the sweetness from overwhelming your palate.
- Cocoa powder (50 g): Sifting this prevents lumps and distributes the chocolate flavor evenly through every bite.
- Whole milk (150 ml): Full-fat milk adds richness and helps create that signature fudgy crumb.
- Vanilla extract (1 tsp): Real extract, not imitation, brings warmth and rounds out the chocolate beautifully.
- Dark chocolate for icing (150 g), chopped: Use the same quality you used in the cake for a consistent, luxurious taste.
- Unsalted butter for icing (100 g): This makes the icing silky and spreadable, with a slight sheen that catches the light.
- Icing sugar (200 g), sifted: Sifting is non-negotiable here because grainy icing ruins the smooth finish you're aiming for.
- Whole milk for icing (3 tbsp): Add it gradually so you can control the consistency and avoid making the icing too runny.
Tired of Takeout? 🥡
Get 10 meals you can make faster than delivery arrives. Seriously.
One email. No spam. Unsubscribe anytime.
Instructions
- Preheat and Prepare:
- Set your oven to 180°C (160°C fan) or 350°F, then grease and line two 20 cm round cake tins with baking paper. This step prevents sticking and ensures even baking.
- Melt the Chocolate and Butter:
- Place the butter and chopped chocolate in a heatproof bowl over a pan of gently simmering water, stirring now and then until everything melts into a glossy pool. Let it cool slightly so it doesn't scramble the eggs later.
- Whisk Eggs and Sugar:
- In a large bowl, whisk the sugar and eggs together until the mixture turns pale and thick, almost like a mousse. This aeration is what gives the cake its lift.
- Combine Chocolate Mixture:
- Stir the melted chocolate mixture into the whisked eggs, followed by the vanilla extract. Work gently to keep as much air in the batter as possible.
- Sift Dry Ingredients:
- In another bowl, sift together the flour, baking powder, salt, and cocoa powder. Sifting now saves you from lumps and uneven texture.
- Fold and Mix:
- Gradually fold the dry ingredients into the wet mixture, alternating with splashes of milk, until the batter is smooth and just combined. Overmixing will make the cake tough.
- Divide and Bake:
- Split the batter evenly between your prepared tins and bake for 30 to 35 minutes, or until a skewer poked into the center comes out with a few moist crumbs. Don't overbake or you'll lose that fudgy texture.
- Cool the Cakes:
- Let the cakes rest in their tins for 10 minutes, then turn them out onto a wire rack to cool completely. Trying to ice a warm cake will melt the icing into a mess.
- Make the Icing:
- Melt the chocolate and butter together over simmering water, then remove from heat. Gradually beat in the sifted icing sugar and milk until the icing is smooth and glossy.
- Assemble and Ice:
- Place one cake layer on a serving plate and spread a third of the icing over the top. Set the second layer on top, then cover the top and sides with the remaining icing, smoothing it with a palette knife.
 Pin this
  Pin this
 The first time I served this, my nephew licked his plate clean and asked if he could have cake for breakfast. His mum shot me a look, but I caught her sneaking a second slice later. That's when I realized this cake has a way of breaking all the usual rules.
Storing and Keeping
This cake actually improves after a day in an airtight container because the flavors deepen and the crumb becomes even more fudgy. I've kept it for up to three days without any loss of moisture or taste. Just make sure it's completely cool before you seal it up, or condensation will make the icing weep.
Serving Suggestions
I love serving this with a dollop of barely sweetened whipped cream to cut through the richness, or a handful of fresh raspberries for a tart contrast. Once, I added a thin layer of raspberry jam between the cake layers, and it tasted like a grown-up version of a childhood birthday cake. If you want to go all out, a scoop of vanilla ice cream on the side never disappoints.
Making It Your Own
You can swap the vanilla extract for a teaspoon of espresso powder to intensify the chocolate flavor without making it taste like coffee. I've also folded in chopped toasted hazelnuts for crunch, and once I brushed the cooled layers with a little rum before icing. The beauty of this recipe is that it's forgiving enough to experiment with while still delivering that signature squidgy texture.
- Try adding a pinch of cinnamon or cardamom to the batter for a subtle warmth.
- Swap half the dark chocolate for milk chocolate if you prefer a sweeter, milder flavor.
- Dust the finished cake with a little cocoa powder or top with chocolate shavings for an elegant finish.
 Pin this
  Pin this
 Every time I pull this cake out of the oven, the kitchen smells like a chocolatier's workshop, and I'm reminded why I keep coming back to it. It's reliable, indulgent, and never fails to make people happy.
Recipe Questions
- → Can I use milk chocolate instead of dark chocolate?
Yes, but the cake will be sweeter and less rich. Dark chocolate with at least 50% cocoa solids provides the best depth of flavor and balance.
- → How do I know when the cake is done?
Insert a skewer into the center—it should come out with a few moist crumbs, not wet batter. The cake should also spring back slightly when gently pressed.
- → Can I make this cake in advance?
Absolutely. The cake layers can be baked a day ahead and stored wrapped in cling film. Ice on the day of serving for best results.
- → What can I use instead of whole milk?
Semi-skimmed milk works well, though whole milk gives the richest texture. For dairy-free, use oat or almond milk as a substitute.
- → Why is my icing too runny?
The mixture may still be too warm. Let it cool slightly and beat in more sifted icing sugar until it reaches a spreadable consistency.
- → Can I freeze this cake?
Yes, the un-iced cake layers freeze well for up to 3 months. Wrap tightly in cling film and foil. Thaw completely before icing.