 Pin this
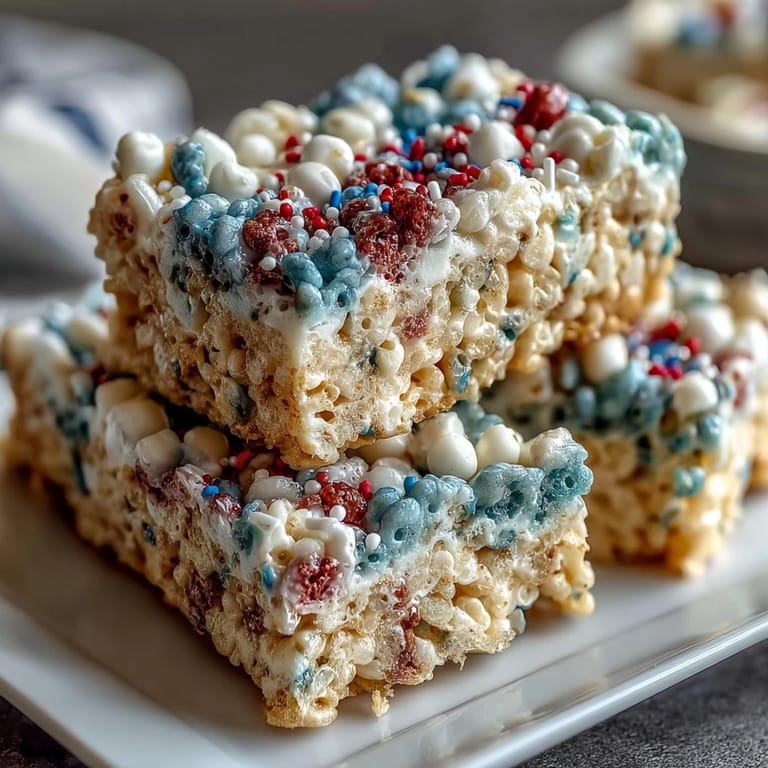
 My neighbor knocked on the door that July morning with a suspicious grin, asking if I wanted to help her brainstorm something festive for the block party. Two hours later, our kitchen smelled like toasted cereal and melted marshmallows, and we had somehow convinced ourselves that three separate batches of Rice Krispies treats—one red, one white, one blue—stacked like tiny edible fireworks, was the move. It wasn't overthinking; it was exactly the kind of silly, joyful chaos that Fourth of July deserves.
I'll never forget watching my eight-year-old nephew carefully press that blue layer into place, his tongue poking out in concentration, muttering that he was "sealing in the freedom." His older sister rolled her eyes, but then she asked if she could make the next batch on her own. That's when I realized these treats weren't just about the July Fourth party—they became this unexpected moment where kitchen time felt like actual quality time.
Ingredients
- Rice Krispies cereal: You need six cups total, divided evenly between the three layers—this is where the iconic snap and texture comes from, so don't skip it or swap it for something else.
- Mini marshmallows: The ten-ounce bag gives you about three and a third cups per layer, and mini ones are crucial because they melt more evenly than the big puffy ones.
- Unsalted butter: Divided into three tablespoons total (one per layer), it helps everything bind together without adding competing flavors.
- Vanilla extract: A half teaspoon stirred into the white layer adds a subtle sweetness that balances the marshmallow.
- Red and blue gel food coloring: Gel matters here—liquid coloring makes the mixture weep and soggy, trust me on this one.
- Red, white, and blue sprinkles: Optional, but they finish the look while the top layer is still warm enough to let them stick slightly.
Tired of Takeout? 🥡
Get 10 meals you can make faster than delivery arrives. Seriously.
One email. No spam. Unsubscribe anytime.
Instructions
- Set up your workspace:
- Line that nine-by-nine pan with parchment paper and lightly grease it—this step saves you from an absolute disaster when it's time to lift the whole thing out. Have your marshmallows and butter portioned into three piles before you turn on the heat, because once things start melting, there's no time to pause and measure.
- Make the red layer:
- Melt one tablespoon of butter over low heat, then add three and a third cups of marshmallows, stirring constantly until you've got a smooth, glossy mixture. Drop in a few drops of red gel coloring and stir until it's the shade you're after, then fold in two cups of Rice Krispies until every piece is coated, then press it firmly into the bottom of your pan using lightly greased hands or a spatula.
- Build the white layer:
- Wipe out the saucepan, then repeat with another tablespoon of butter and three and a third cups of marshmallows, but this time stir in the vanilla extract instead of coloring. Once it's mixed with the two cups of Rice Krispies, gently press this layer over the red one—you want it snug but not so hard you're squashing the layer below.
- Top with blue:
- Clean the pan one more time, melt the last tablespoon of butter with the remaining marshmallows, add blue gel coloring until it's vibrant, then fold in the final two cups of Rice Krispies. Press this top layer down with the same gentle firmness, and if you're using sprinkles, scatter them across the warm surface now so they stay put.
- Cool and slice:
- Let the whole thing sit undisturbed for at least an hour—I know waiting is torture, but this is when the layers actually set and hold their shape. Use the parchment paper to lift the entire block out of the pan, then slice into sixteen squares with a sharp knife, wiping the blade between cuts to keep the colors clean.
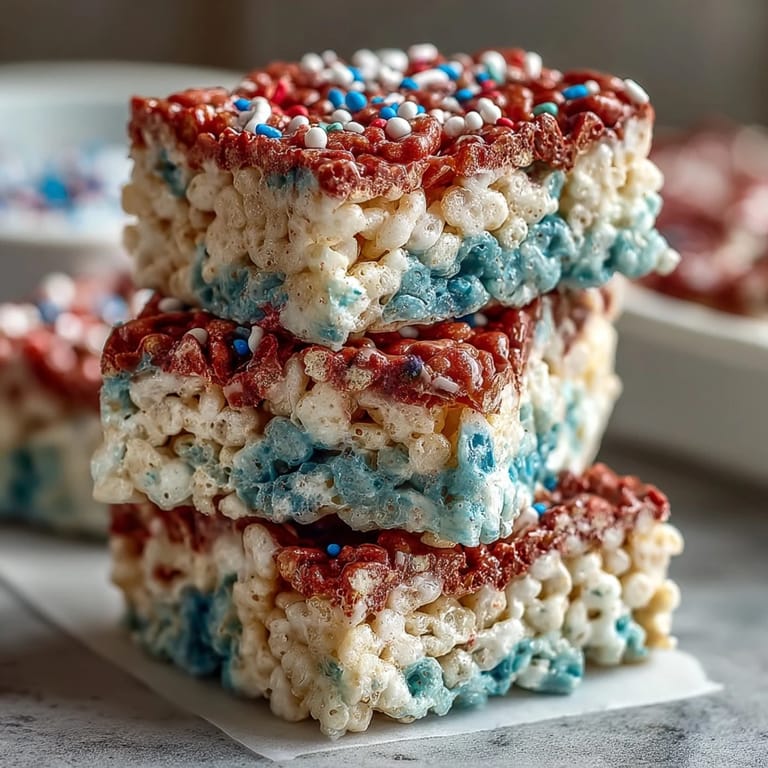 Pin this
 There's something deeply satisfying about unmolding those treats and seeing those three distinct, perfect stripes stacked together. It felt less like making a recipe and more like assembling something meaningful with my hands, one layer at a time.
The Importance of Patience and Temperature Control
Working with marshmallows demands a gentle touch and low heat—rush it or crank up the temperature, and you'll end up with a scorched, separated mixture that refuses to cooperate. The butter needs just enough warmth to melt, and the marshmallows should turn glossy and smooth, not brown and bubbly. I learned this after accidentally setting my heat too high on the blue layer and watching the mixture go slightly tan instead of staying pure white-blue.
Gel Coloring Over Liquid: Why It Actually Matters
This detail seems small, but it fundamentally changes the outcome. Liquid food coloring adds water to an already moisture-sensitive mixture, which means your layers become slightly damp and take twice as long to set. Gel coloring is concentrated and adds almost no liquid, so your treats stay crispy-chewy and firm up quickly, keeping those stripes bold and distinct.
Make It Your Own
The beauty of this recipe is that it's a framework you can actually play with. Some folks add a pinch of salt to the white layer for a subtle savory note, while others press in sprinkles between the layers for extra texture. The cooling step is non-negotiable, but everything else invites personalization.
- Try swapping vanilla extract for almond extract in the white layer if you want something different but still festive.
- If you're making these for someone with dietary restrictions, check your marshmallows and cereal labels carefully, as both can hide unexpected ingredients.
- Store finished treats in an airtight container at room temperature for up to three days, and they'll stay just as chewy as the moment you sliced them.
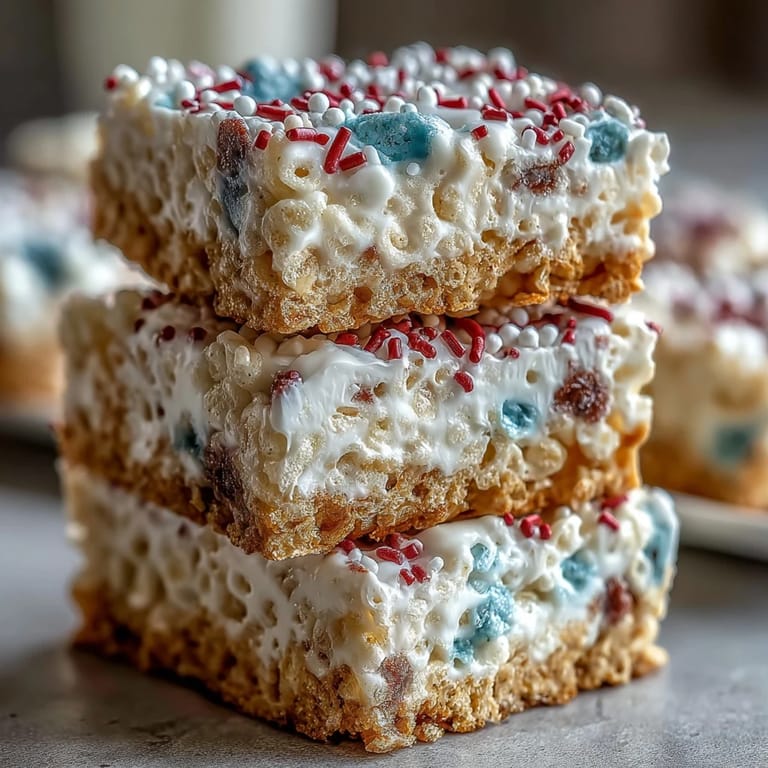 Pin this
 These treats have become my go-to for any patriotic gathering, not because they're complicated, but because they remind everyone that sometimes the most meaningful things come from simple ingredients and a little intentional layering. Make them, share them, and watch people's faces light up when they realize the colors are real.
Recipe Questions
- → How do I achieve vibrant colors in each layer?
Use gel food coloring instead of liquid to avoid making the mixture too wet. Add a few drops to melted marshmallows for vivid red and blue layers.
- → What is the best way to prevent sticking when layering?
Lightly grease your hands or a spatula before pressing each colored layer into the pan to keep the mixture from sticking.
- → Can I substitute any ingredients for dietary preferences?
You may try using salted butter for added flavor or gluten-free cereal for dietary restrictions, but be mindful of gelatin in marshmallows.
- → How long should the layered treat cool before slicing?
Allow the layered mixture to cool and set for at least 1 hour to ensure firm squares when sliced.
- → What tools are necessary to prepare these layered treats?
A large saucepan for melting, a 9x9-inch baking pan lined with parchment paper, a spatula, and a knife for cutting are essential.