 Pin this
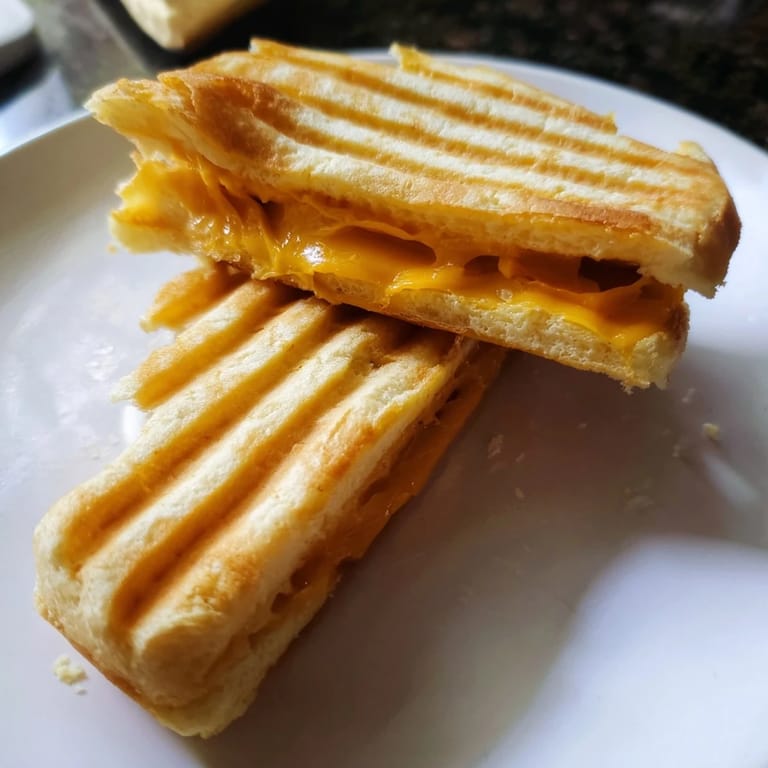
 The first time I made a grilled cheese in a waffle maker, I was honestly just trying to use up an appliance that had been collecting dust in my cabinet. I'd seen the idea somewhere online and thought it sounded gimmicky, but as soon as that first sandwich came out with those perfect crispy ridges and a cheese pull that stretched like victory, I understood the appeal. There's something about the waffle iron that transforms the ordinary into something golden and irresistible in under five minutes.
I made these for my nephew on a lazy Sunday afternoon when he declared himself tired of regular sandwiches. He watched the whole process with skeptical arms crossed until I opened that waffle maker and showed him the golden, crunchy result. His face changed instantly—he wanted to know if we could make every meal in the waffle iron from that point forward.
Ingredients
- Sandwich bread: White, whole wheat, or sourdough all work beautifully—pick whatever you love eating plain because the bread is the foundation here, not an afterthought.
- Cheddar cheese or your favorite melter: Gruyère brings sophistication, mozzarella gets stretchy and mild, Swiss adds subtle sweetness—the key is using cheese you'd actually enjoy eating.
- Unsalted butter, softened: This is non-negotiable because you need it to spread thin and even; cold butter tears the bread and creates uneven browning.
- Tomato, bacon, or Dijon mustard: These are optional but they transform the sandwich from simple into something you'll crave again next week.
Tired of Takeout? 🥡
Get 10 meals you can make faster than delivery arrives. Seriously.
One email. No spam. Unsubscribe anytime.
Instructions
- Get your waffle maker ready:
- Turn it on and let it preheat completely—this usually takes about 2-3 minutes, and you'll know it's ready when the indicator light stops flashing or turns green.
- Butter your bread generously but thin:
- Use softened butter so it spreads like a dream without tearing; you want just enough to coat the outside surface for that crispy, golden exterior.
- Build your sandwich with intention:
- Lay down bread buttered-side down, add your cheese and any extras, then top with another slice buttered-side up—this way both sides will brown perfectly in the waffle maker.
- Press it into the waffle maker carefully:
- Place the sandwich inside, close the lid gently, and apply light pressure; you're not making a panini, just enough pressure so the sandwich stays put as the heat does its job.
- Listen and watch for the golden moment:
- 3-5 minutes is the magic window—you'll know it's done when steam stops rising steadily and the bread looks deep golden brown through any gaps in the waffle maker.
- Repeat with the second sandwich:
- Don't rush the second one just because you're excited; they both deserve the same attention and time to reach peak crispiness.
- Let it rest before slicing:
- A full minute of rest lets the cheese set slightly so it won't pour right out when you bite into it.
 Pin this
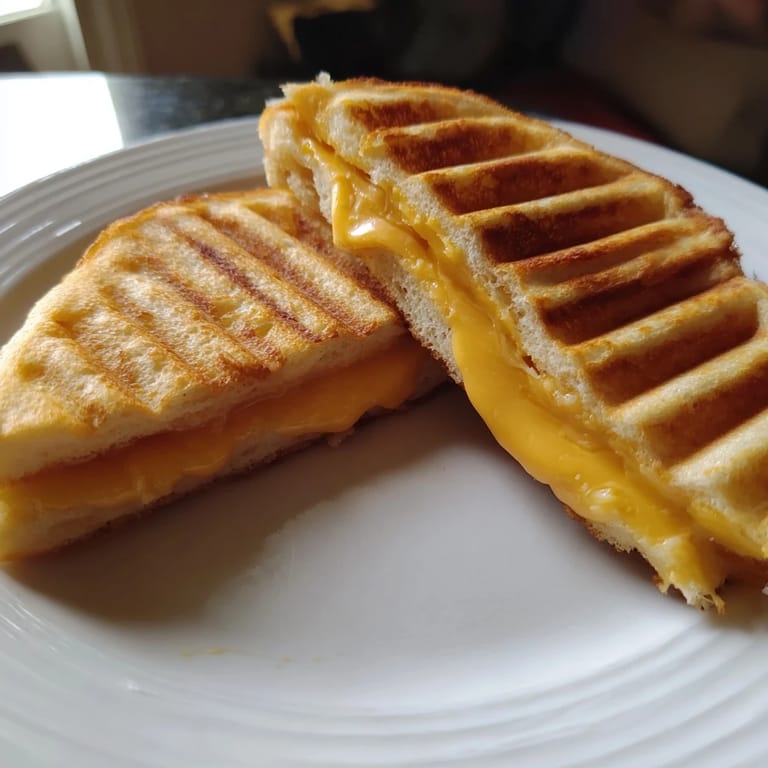
 There's a particular satisfaction in making something this simple and watching someone's face light up when they taste it. My mom took one bite of her waffle grilled cheese and immediately asked if I could make them every time she visits.
Cheese Selection Matters More Than You'd Think
I used to think any cheese would do, but the difference between good melting cheese and mediocre is honestly remarkable. Cheddar works reliably every time, but I've discovered that blending two cheeses—like cheddar with a little Gruyère—creates a more complex flavor that tastes less like you're just eating melted cheese product and more like you actually care about what you're eating. The waffle maker's heat is so intense and even that it brings out subtleties in cheese that get lost in a regular skillet.
When to Add Your Extras
I learned pretty quickly that raw additions like tomato slices should be added to the sandwich before it hits the waffle maker, where they'll warm through and release their flavors into the cheese. Cooked bacon is the same—it gets a second life in the heat and actually crisps up a bit more. But if you're thinking about adding something fresh like arugula or fresh basil, wait until the sandwich comes out and add it as a hot-cold contrast that keeps things interesting.
Serving Suggestions and Pairings
The obvious pairing is tomato soup—hot, tart, and smooth against that crispy golden exterior. But I've also discovered that a simple green salad with a sharp vinaigrette cuts through the richness beautifully. And if you're feeling ambitious, roasting some red peppers or caramelizing some onions ahead of time and adding them to the sandwich turns this quick weeknight dinner into something that feels more intentional.
- A drizzle of hot sauce on the side adds heat and complexity if your household leans that way.
- Serve immediately so the crispy exterior stays crispy and the cheese is still warm and soft inside.
- Make extras if you're feeding people you like—they'll disappear faster than you expect.
 Pin this
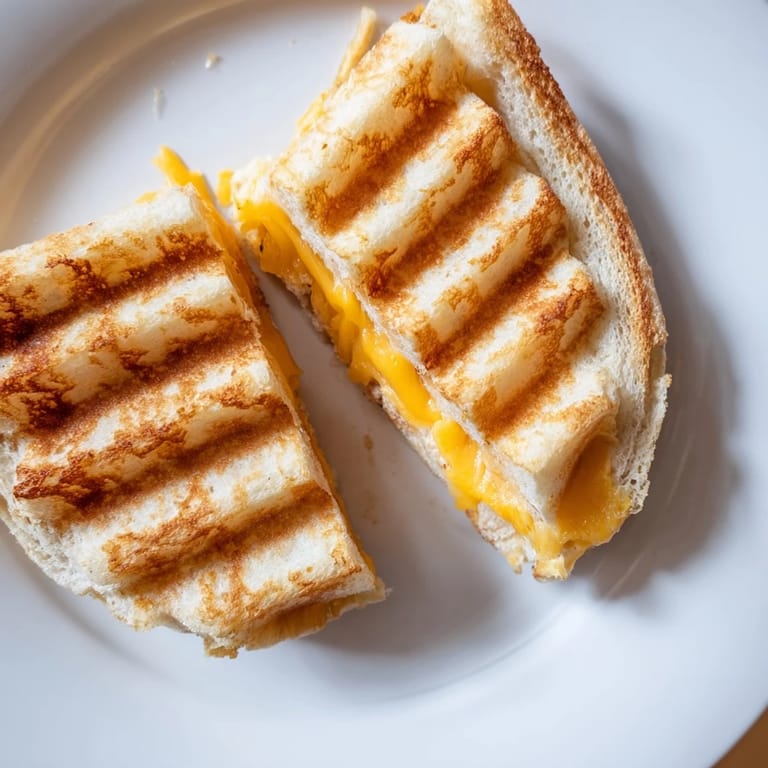
 This is the kind of recipe that teaches you something small every time you make it, and honestly, that's worth celebrating. Once you master the waffle grilled cheese, you'll start imagining all the other possibilities.
Recipe Questions
- → What type of bread works best?
Sandwich bread varieties like white, whole wheat, or sourdough all work well, offering different textures and flavor depths when pressed in the waffle maker.
- → Can I use cheeses other than cheddar?
Absolutely; melting cheeses such as Gruyère, mozzarella, or Swiss provide excellent creaminess and complement the crunchy bread nicely.
- → How does the waffle maker affect cooking?
The waffle maker presses the sandwich gently with heat, creating crispy ridges on the bread and evenly melting the cheese inside for a crunchy yet gooey experience.
- → Are there suggested add-ins for extra flavor?
Try slices of tomato, cooked bacon, or a light spread of Dijon mustard to add layers of taste and enhance the sandwich’s richness.
- → Any tips for buttery bread preparation?
Use softened unsalted butter spread thinly on the bread before pressing to ensure even browning and a rich, savory crust without overpowering saltiness.